Tuesday, June 7, 2011

DIY Painted Hair Flower

This is the teaser :)
Pixar held it's wrap party for Cars 2 on Saturday, which was really, really fun! We got to see the film in its completed state for the first time (it comes to theaters June 24th so go see it!) and I got to see my very first feature film credit! The party afterwards had tons of amazing food, drinks and dancing. My feet hurt pretty badly by the end of the night from gettin' funky on the dance floor...worth it! I really regret not eating more of that food though....

So I originally had this idea to wear a hair flower to the party since I love them so much (and when I wear flowers in my hair, people tell me it looks very "me", which I assume is a good thing).  Unfortunately when I had finished the flower and tried it on with the outfit and jewelry, it totally did NOT work. It just looked too organic when the rest of my outfit was super clean and modern. Having spent the better part of three evenings working on the flower, I was super sad. But being able to give yourself honest criticism is important (difficult, but important), and I knew I couldn't wear it. *tears* That doesn't mean I didn't document it for my blog though! And who knows, maybe at another party with another outfit it could make its debut. Okay, so on to the crafting.

Boyfriend and I had decided on a lavender theme for our outfits when we found that he looked quite smashing in this shirt from Express. Unfortunately I couldn't quite find a high-quality, clean-looking lavender flower to match so I decided to paint one. I added some bling to the middle as well to make it more formal-looking. Here's how it went down:

Supplies:
Fake flower
Fabric paint + brush
Thread and needle
Hot glue
Beads
Flat-head pins
Pliers

I bought an off-white magnolia flower since it had the cleanest lines and wasn't the size of my head. I took it apart by popping it off the stem and taking out the middle pieces that held it together. I took out two petal pieces so it wouldn't be as voluminous and used those for testing.

I put some paint on a paper place and used a wet brush to water it down as needed. Before painting, I completely wet the petals and dabbed the excess with a paper towel. This allows the paint to bleed more smoothly to get those nice gradients. Then I applied my paint, starting with opaque in the center and using more watered down paint as I moved outward.


NOTE: Do not paint on an absorbent surface such as a paper towel. Where the petal makes contact with this surface will dry the paint faster leaving you with uneven spots. I tied my petals to a wire and painted them in the air after making the paper towel mistake. If you're impatient like me, you can use a hair-dryer to dry the paint.


Notice the spots? Those were the little raised dots on the paper towel that made contact with the petals. I tried to bleach the paint out, but it took 3 full days of soaking to get it all out, and by then the cloth had practically dissolved.

ANYWAY, when you're done they should look kinda like this:


My flower had these plastic pieces in between the petals to give them more volume and prevent them from going flat. I decided to use a couple and sewed them into place to keep them from slipping out and being seen.


Now for the beads: I added the large center bead by sewing it into place. Around the base of this bead I put a small amount of hot glue and let it dry. I secured each small bead on a pin by pushing the pin into the hot glue and through the base of the flower.


I bent each pin and trimmed it (it's important to use jewelry pins as they are flexible enough for this).


Here, the first set of pearl beads are in place. I continued to add more crystal beads for some sparkle.


Once all the beads were in place, I arranged my petals exactly how I wanted them, then used a generous amount of hot glue to layer them together. Then I flipped the flower over and secured a hair clip using thread and some hot glue (to keep it from slipping around)

Boyfriend wanted me to point out that he was diligently
washing the dishes while I took this photo


Here's the final product being modelled in some pretty unremarkable hair (mine, I was lazy that day).


In other news, here's the cost breakdown:

Flower: $4
Beads: $2 + 5
Pins: $4
Fabric Paint: $2
Hot glue, sewing supplies, hair clip: already had.
Total: $17

Not bad considering a lot of these things go for $30-60 on Etsy. It turned out really nicely and I was totally sad it didn't go with my outfit (read: really, incredibly heartbroken). I guess now I'll have to specifically hunt for a lavender dress to match it for next year's party.

Monday, May 16, 2011

Blackberry Glazed Steak and Rosemary Fromage Blanc

So I'm both embarrassed and proud of this post. Embarrassed, because the pictures were very impromptu and are just...bad. Proud, because this is one of the best meals I've ever made and I didn't use any recipes!

The meal started off with a trip to Costco where we picked up some great steaks, berries and fromage blanc from Bellweather Farms.


Fromage blanc (a.k.a. fromage frais) is a fresh cheese that tastes a bit like cream cheese, but is much creamier and lower calorie even than low-fat cream cheese. Our cafe at Pixar has been using this cheese on some of their healthy chicken wraps and I've been obsessed with it ever since I tasted it! I was so excited when I found it at Costco so I immediately snatched up a tub. In the above picture I've mixed it with some finely minced fresh rosemary and a dash of kosher salt. You can spread this stuff on anything: crackers, veggies, sandwiches, etc. More on that in a bit!

Next was getting the berry glaze ready. I'll admit, I've never done a berry glaze on any protein before (unless you count smearing my Thanksgiving turkey with cranberry sauce) so I was flying by the seat of my pants for this one!


Approximate measurements:
1 T oil
3 cloves garlic, minced
1/2 tsp fresh rosemary, minced
1/4 c red wine
1/4 c beef broth
1/4 c blackberries (frozen or fresh)
1 T brown sugar
salt to taste
pepper to taste.

I started out by sauteing minced garlic and fresh rosemary in some oil. Then I deglazed the pan with about 1/4 cup red wine, added in the broth, blackberries and sugar, and let simmer until thickened.

While the sauce was reducing, I decided to make a light and fresh cocktail based on a gin and tonic (heavily, heavily based). 


I put about 1/2 cup gin (Blue Sapphire for this one), 1 small bottle of tonic and filled the rest of the pitcher with water and ice. Then I squeezed the juice of a lime into the mix and added sliced cucumbers. The result was the perfect summer drink! Very refreshing and not too alcoholic to make it a chore to drink. Gotta say, cucumbers are climbing my list of top low-calorie foods. Is dipping them in hummus still an option?

Alright, back to the steaks. After letting the seasoned steaks rest for 15 minutes, we threw them on the grill (hooray for our Weber Grill!). I brushed my blackberry sauce on them each time we flipped, which gave the meat a beautiful deep red-brown glaze.


Once those were cooked to desired done-ness, we plated them alongside some baked potatoes. Remember that fromage blanc? A generous dollop of that on the mashed potato and you have one of the best-tasting baked potatoes ever! 


I finished things off by sprinkling a little chive and parsley from my herb garden. I even did a little "berry brush" art on the plate, how suave is that? Aaaand another photo:


Much to our delight, the blackberry sauce was the perfect combo of sweet and salty that complimented the steak wonderfully. We had leftover sauce, which we both generously poured onto our steaks in addition to the glaze. The potatoes were melt-in-your-mouth delicious. The drinks cleansed the pallet and left us feeling refreshed. All in all, a really epic meal.

Wednesday, May 4, 2011

Orange Flowered Weekend

This weekend I decided to try out a sweet-looking paper poppy DIY I found on this amazingly crafty lady's blog. She has it all written up with photos, so I won't do a step-by-step here, but I will show you the final product!


I am in LOVE! Of course mine don't look nearly as good as hers, but I couldn't be happier with the results. Juxtaposed with the teal vase (IKEA) and eucalyptus, they really pop. Every morning when I sit up in bed, these are the first things I see, and they instantly brighten my day!

I liked them so much, I had to incorporate them into my new blog banner, as you can see. I only changed a couple things from her tutorial: first, I used five petals instead of four. My petals turned out quite a bit smaller than hers and I realize now that it's because I used the party streamer version of crepe paper rather than a flat sheet *facepalm*. Second, I sandwiched orange crepe paper in between two gold rather than straight up orange (the two on the left are gold-orange-gold while the one on the right is just gold). These were pretty simple to make, though they do require a certain level of skill and dexterity. They were also super cheap: $13 for all the supplies, which will make quite a few more flowers. I think I will get some proper crepe paper and try these again...maybe in time for a mother's day bouquet?

Keeping with the theme of the post, I discovered these on my balcony on Saturday.


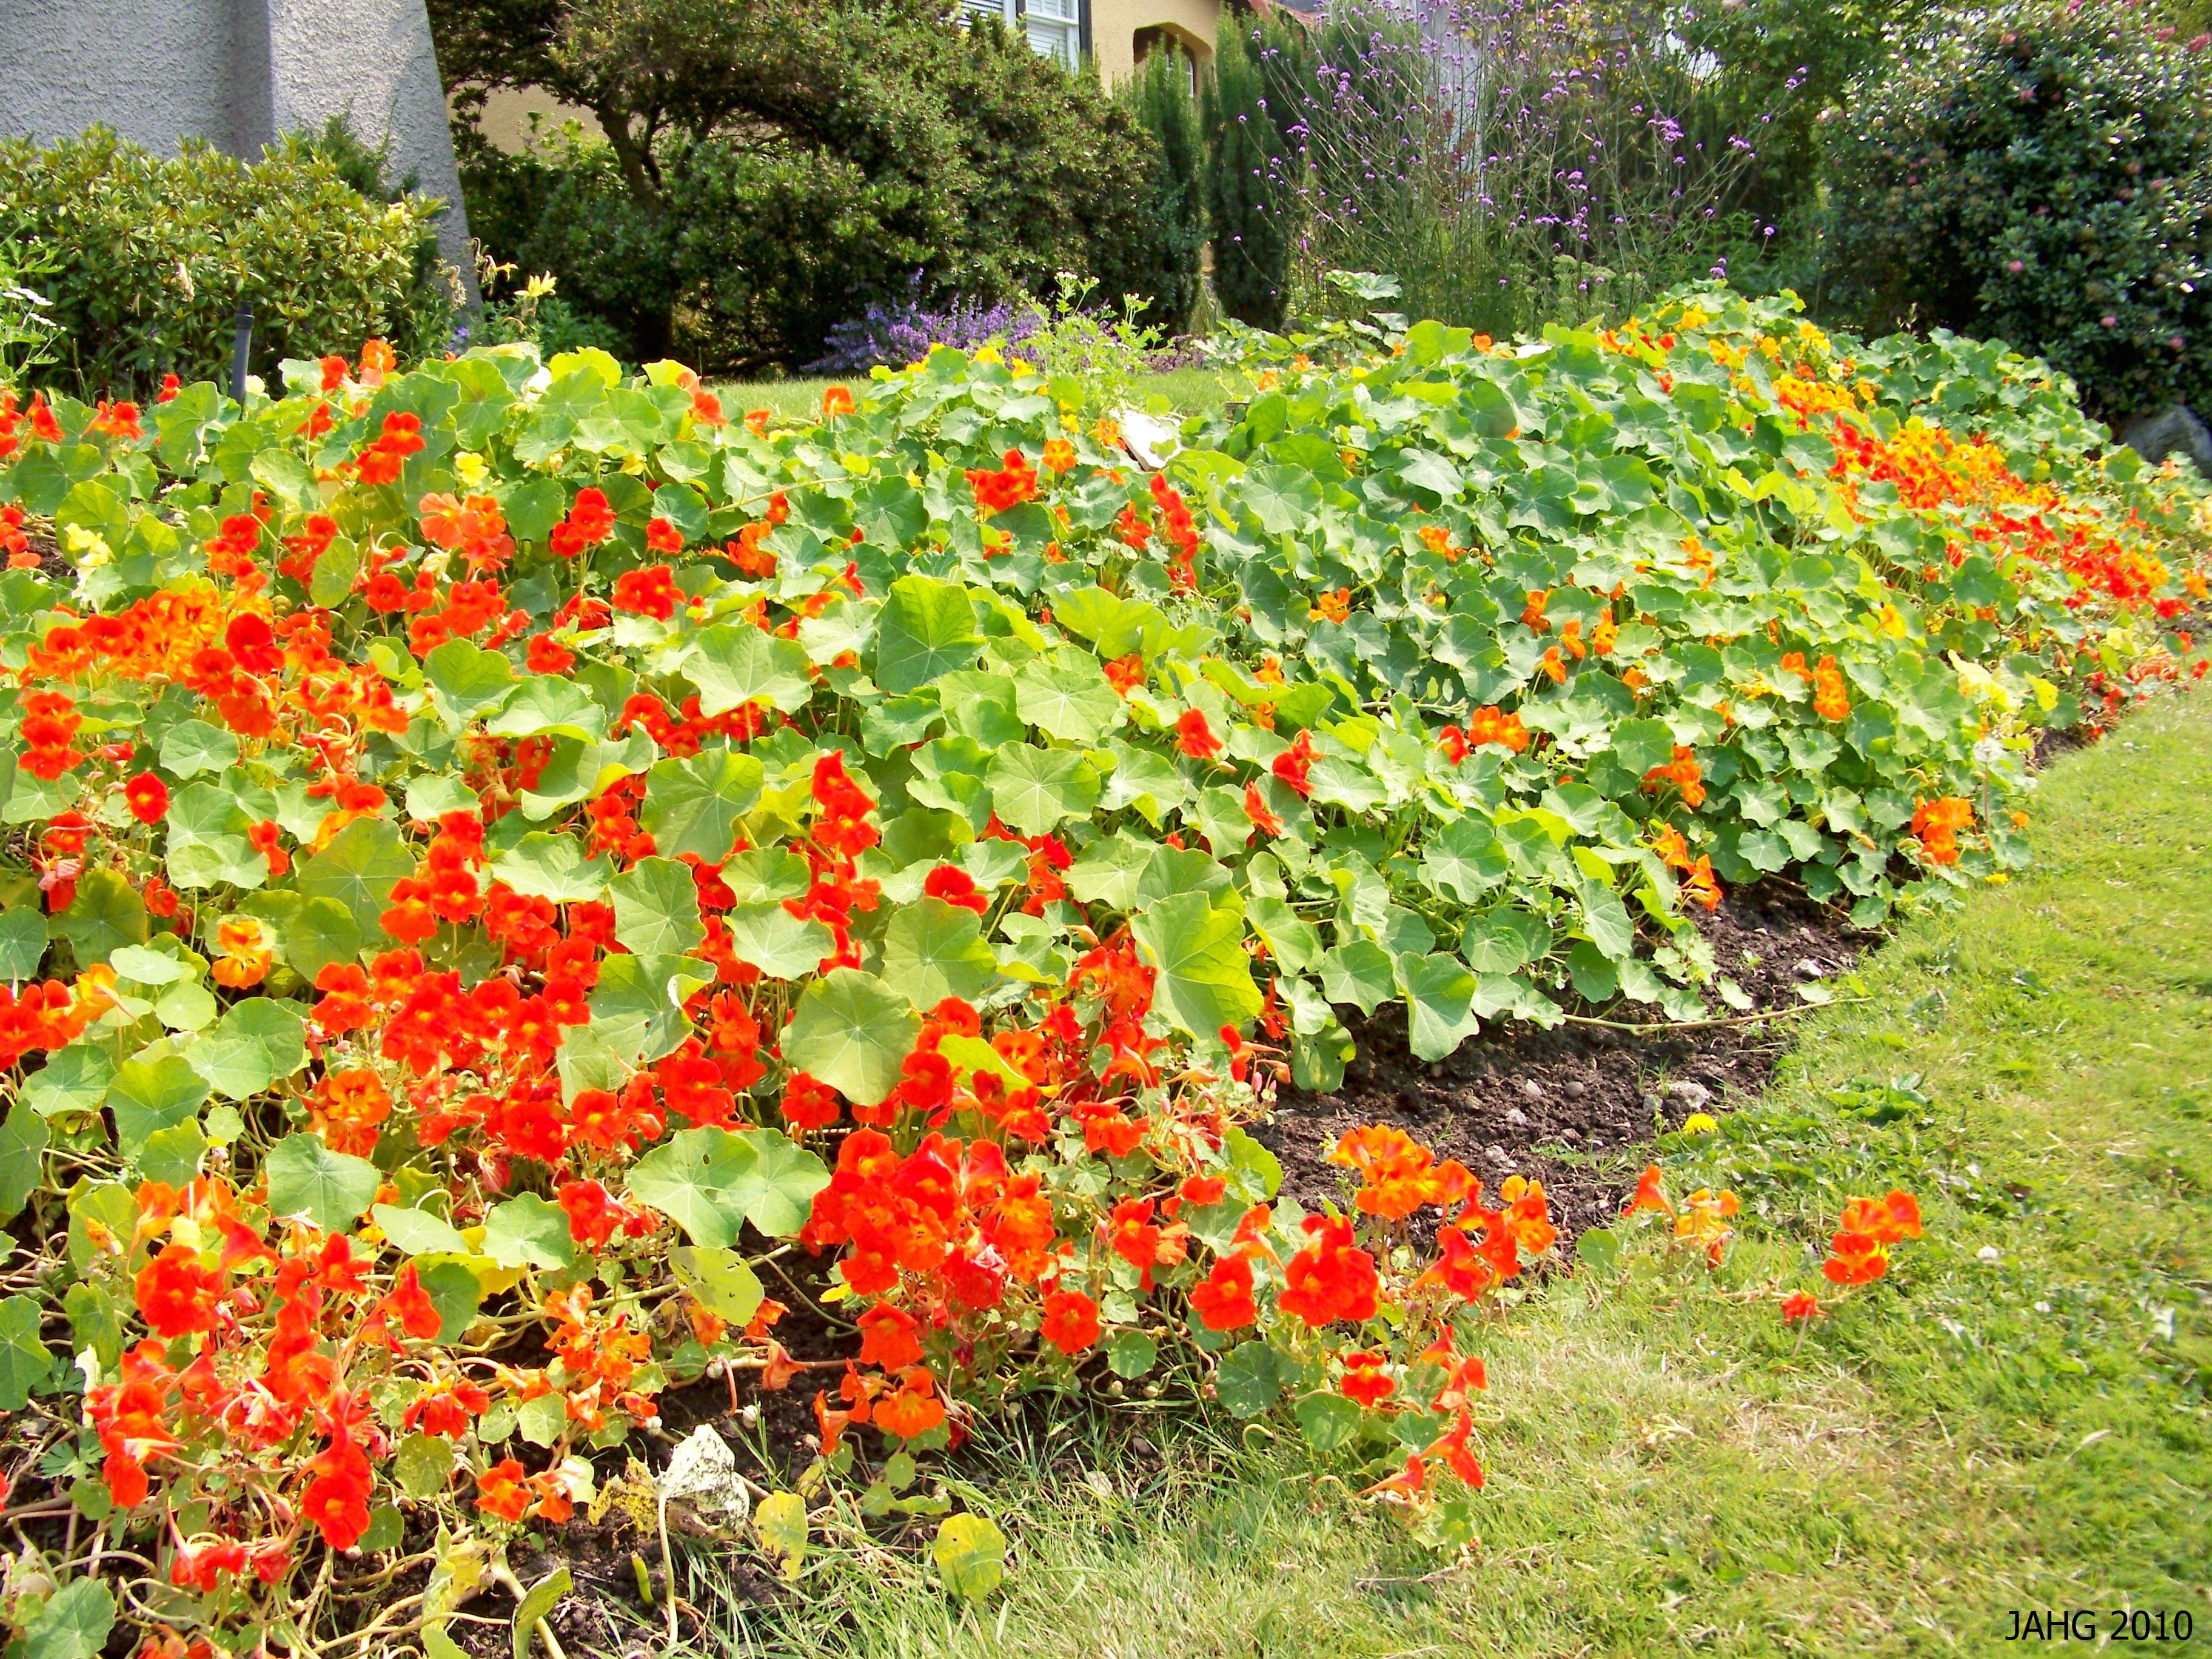
My Nasturtium finally decided to flower! I've been passing by hundreds (literally) of these flowers on my daily walks...it felt kinda like this:

NOT my garden

I was wondering why mine hadn't shown any colors yet. I blamed it on my recent re-potting and propagating, which had probably caused some stress to the plants, but I underestimated these robust little guys! Boyfriend probably thought I was a little nuts, because as soon as I discovered them, I got really excited, dragged him out to show him, then got my camera and started taking pictures from every angle. I guess I'm just stoked about the fact that a plant is actually thriving under my care rather than...well, not. Since this weekend, another flower has bloomed and I see a few more buds getting ready to as well. Take that, black thumb!

Tuesday, April 26, 2011

Balcony Rises from the Ashes


When I first moved into my apartment, I was a little too excited about having a patch of the outdoors to call my own. I had visions of home-grown tomatoes, little herb gardens, enjoying cool afternoons lounging outside with a glass of wine. I was so eager to get started that things moved pretty quickly once I discovered that Target's garden section had all the Coleus plants I could ever want (Coleus is a shade plant, which was great since my balcony literally NEVER sees direct sunlight). Here's what my balcony looked like not long after I moved in:


It's almost as though it were a fairytale. I got two chairs from CB2 (on sale for $30 each!) as well as those awesome cube planters. IKEA provided the laptop table, rug and round metal planters, including the little ones hanging on the railing. <3

It looked lovely for a couple months. Unfortunately it was unknown to me that something called "downy mildew" basically infected Coleus and basil plants throughout the entire state of California, for which there was no cure (that didn't involve drowning them in fungicide). My coleus and basil plants died pretty slowly and dramatically, first by hosting a fair amount of mildew, losing brown rotted leaves one-by-one, then by hollowing out the main stem in a final display of what I can only describe as "plant suicide". I was left with some tomato, herbs and Dracaena. After a coldish "winter", all but the Dracaena was alive, and this is what my balcony had been reduced to:


Yeah, not a lot of wine drinking and relaxing going on out here! Even Teako doesn't want to stand on that cold 'n' dusty concrete.

With the weather warming up, I decided to start anew, but this time I would stick to plants that grew really well in the local area. On our walks with Teako, I had paid close attention to the flora and had a pretty good idea of what I wanted. As of this last weekend, here is what the balcony looked like:


Ahhhhhhh so much better! It's not quite as colorful and lush as the coleus version, but I have a good feeling about these guys. Here's a breakdown:

Phormium plant on sale due to reverting
(losing pink color), but we liked it
Herbs and tomatoes: parsley, chives, cilantro, rosemary, thyme.
Orange Libertia grass added for color
"Lemon Lime" Dracaena, my only winter survivor
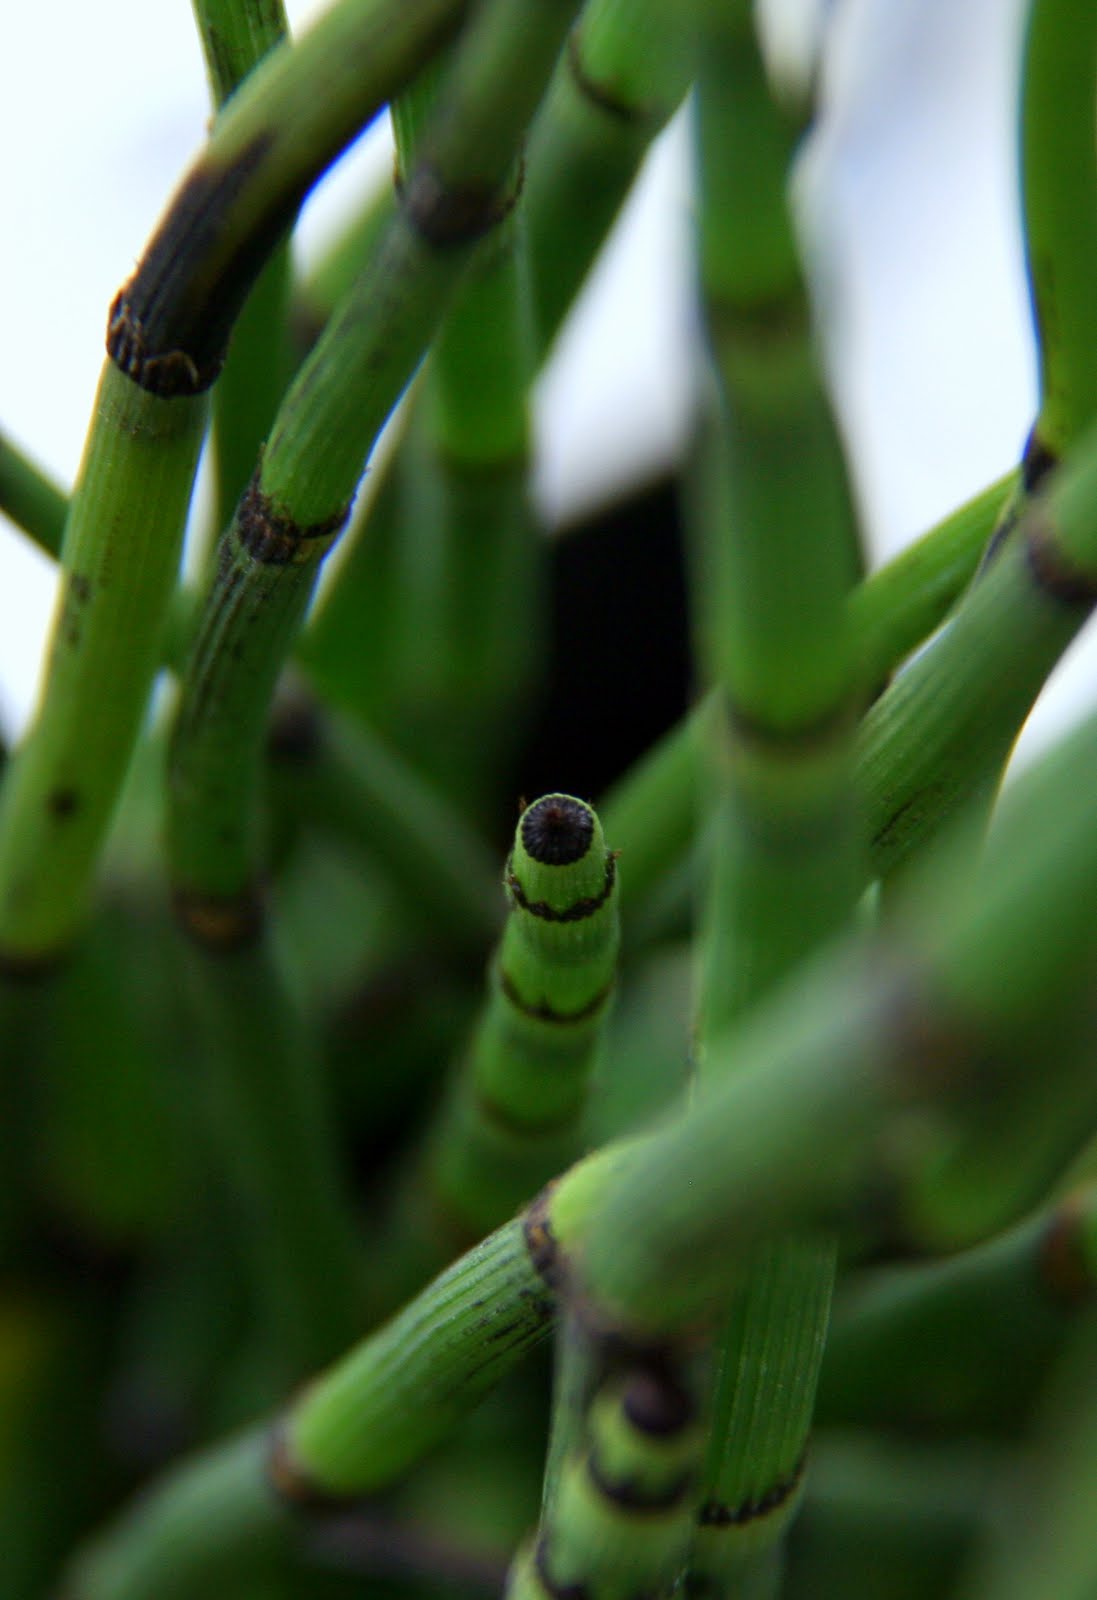
Bottle Rush Reeds
Pink Panther Phormium, Dracaena, Orange Libertia
and Nasturtium (the round-leafed ones)
Pink Panther up close
Aeonium Arboreum of the succulent variety.
I just love this plant
More Nasturtium and a bed of Reindeer moss
Front to back: sage, chives, parsley, thyme
Weber Grill
That Weber Grill is pretty much the best $60 I've ever spent. It's easy to clean, heats up quickly and cook the most delicious food ever. I've made the best chicken, steak, salmon and burgers of my life on this little guy. Some people confess that they keep this one inside of their huge fancy grills because it's just that good.

So there's the current status of the balcony. If I manage to kill these hardy plants, I might have to face the fact that I do, in fact, have a black thumb. But let's hope that's not the case.

Tuesday, April 19, 2011

My Craigslist Tub Chair

I'm so excited, look at what my sweet boyfriend got me!


Not that he had much of a choice...I practically kidnapped him from work to make the 45 minute drive south to pick it up. Luckily this didn't end up like the many Craigslist horror stories you hear about. The couple who sold it to us lived in a posh neighborhood and were perfectly sweet. They got a kick out of watching us try to maneuver the chair into the car (after getting this coffee table into the back seat, I should be able to fit this thing no problem right?). It ended up riding shot gun and getting to control the radio with one of its legs!

Best of all, the chair only cost us $60, and they threw in a matching ottoman for free!

I swear, the wood and fabrics match the chair...it's the lighting.
Pretty good deal for a microfiber set in excellent condition with beautiful lines! I've been on the hunt for a good club/tub chair for a while now so I'm really stoked that we managed to get our hands on this one. Here's a picture of it in the grander scheme of things.


Ahhhhh it makes me all warm inside. I'm thinking of getting a sheepskin throw for it to tie it in with the lighter colors around the room. It's practically got a spotlight on it in the above picture, but it really is the color of that ottoman.

In other news, my new lens finally came in! It's a Canon EF-S 18-200mm IS lens and it is AWESOME! I've been wanting to get a versatile lens with a nice focal range so I wouldn't be constantly switching lenses when I'm in a hurry or lazy. The image stabilization is pretty unbelievable as it allows me to take photos at 1/30 or even 1/16 and still have a very good chance of getting a crisp image. Few things are more heartbreaking than uploading photos at the end of the day only to find out that your stupid shaky body messed them up.


Every Friday the photography mail alias at Pixar does a photo share...my goal this week is to use my lens to take something worthy of sharing.