
Our most recent proposal was to put in some much-needed under cabinet lighting in the kitchen and we were given the green light hours within sending the email. It was on.
So the thing about our kitchen is that when they remodeled it, they didn't take into consideration the fact that 1) it is a small room and 2) it has very limited natural light. Thus, they went with dark-stained cabinets and dark counter tops. And while it all looks very sophisticated, it basically kills any light that might have survived with a brighter color scheme. Additionally, the main source of light is a directional track lighting fixture, which throws five little spotlights in different directions (casting a shadow on whatever you have in front of you) and doesn't bounce any light off the white ceiling.
So yeah, under-cabinet lighting was seriously needed. Let's take a look, shall we? Here's the before

And the after:

And here's a shot with the track lighting off so you can see just how much illumination the under-cabinet lighting provides on its own. Pretty amazing right?

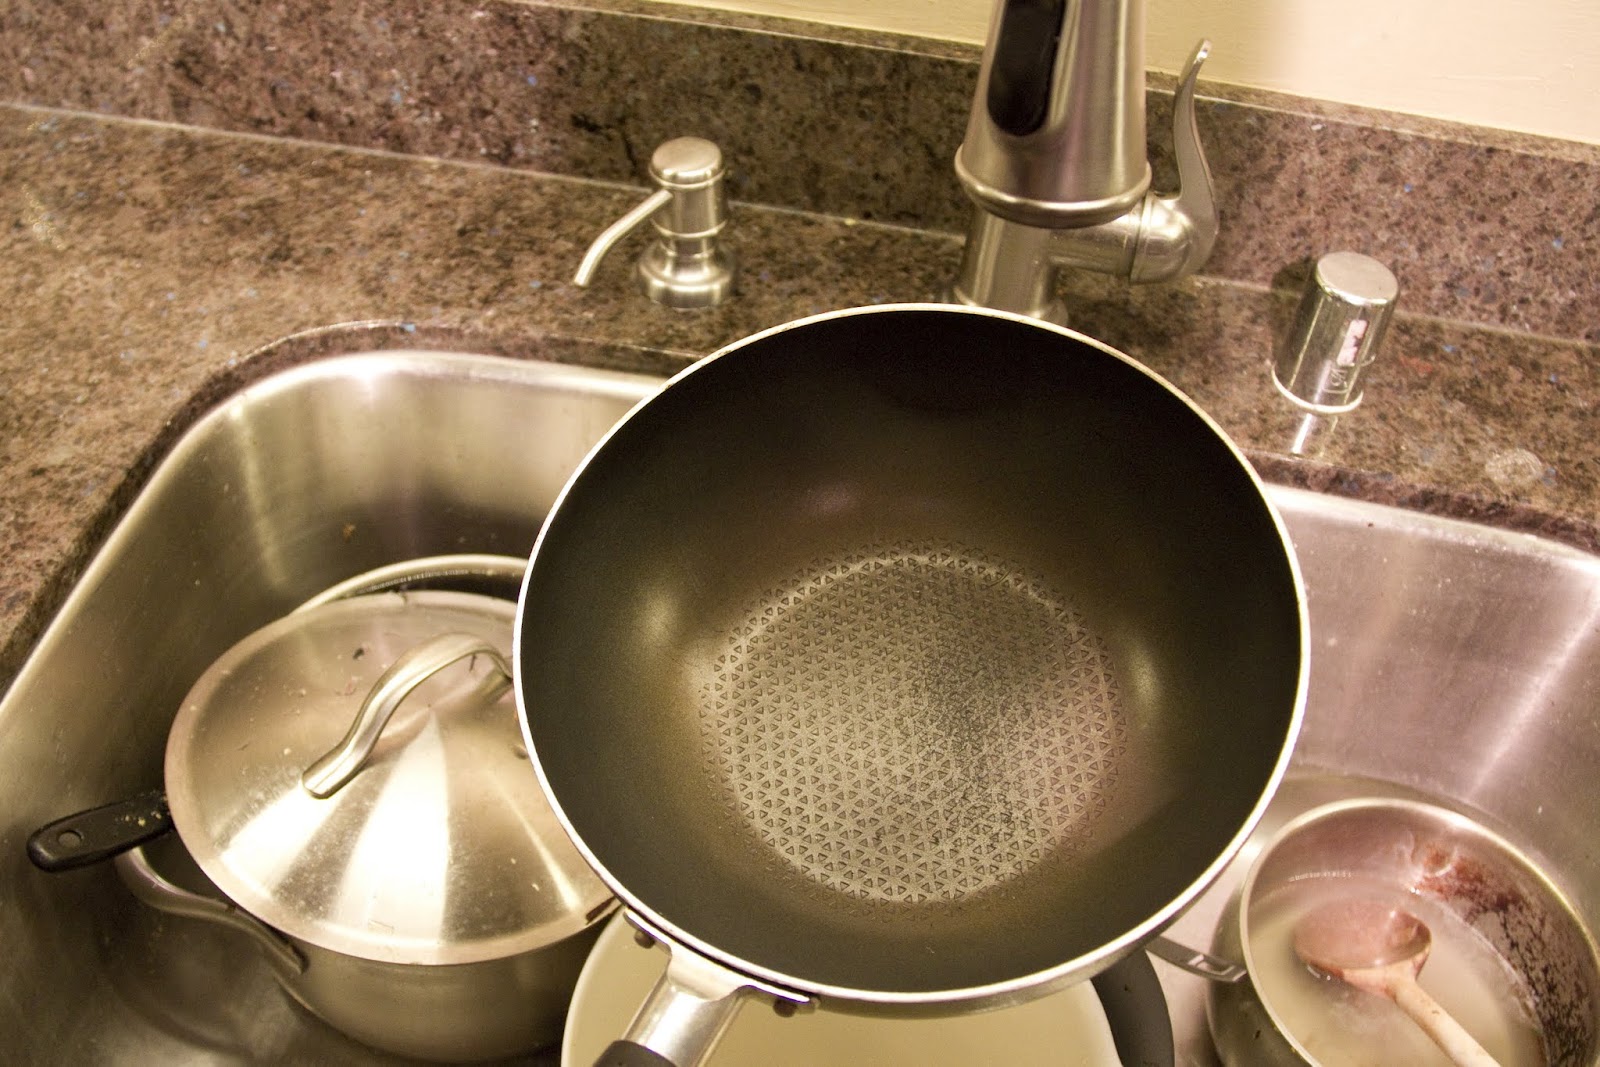
Here's an example of the shadow-casting issue I mentioned at the top. Here is a typical dish-washing scene without the under-cabinet lighting. You can clearly see how the track lighting casts harsh shadows exactly where you don't want them to be. Probability of fully clean hand-washed dish: 60%

And with the under-cabinet lights on. Probability of fully clean hand-washed dish: 98% (of course now you can see our dirty sink...ahem, please excuse)
Going into the project, we knew it was going to make a big impact, but we didn't realize just how huge. I mean, look at the difference! We can SEEEEE!
Now on to the installation. Step one: PLAN THE CRAP OUT OF YOUR PROJECT. You think I'm kidding (I don't know how you could since I used all caps), but even with our excessive planning, we still ran into many snags and minor game-changers. I can only imagine the disaster had we not planned things out. Here's a sketch (which we sent to the landlords) of our proposed layout.

We found these kickass waterproof flexible LED strips on Amazon that you can cut into multiple lengths, have adhesive backing, and come in a waterproof sleeve. All that was required was a little electrical work, which I will describe in a bit. We opted to use these sweet LEDs for several reasons: 1) They are extremely energy efficient and don't give off heat, 2) They provide an even spread of light rather than the pools that you get from puck lights, 3) they are incredibly versatile with the trimable lengths and free-style wiring, 4) they are very thin and are easily hidden from view, and 5) did I mention that they kick ass?
Time to gather supplies! Soldering iron and solder. I recommend a pointed tip for precision, because this is delicate work.

LED strips. We chose the ones with the waterproof sleeves to reduce the risk of electrocution, either by water contact or just by touching the open connections.
Power supply to make it all light up and whatnot. Here we've already mounted it to the underside of one of the cabinets with a couple of screws

 |
| That shiny stuff is champagne from our house-warming party. Boyfriend opened a bottle, which then proceeded to explode all over the kitchen. We've been cleaning it up ever since. |
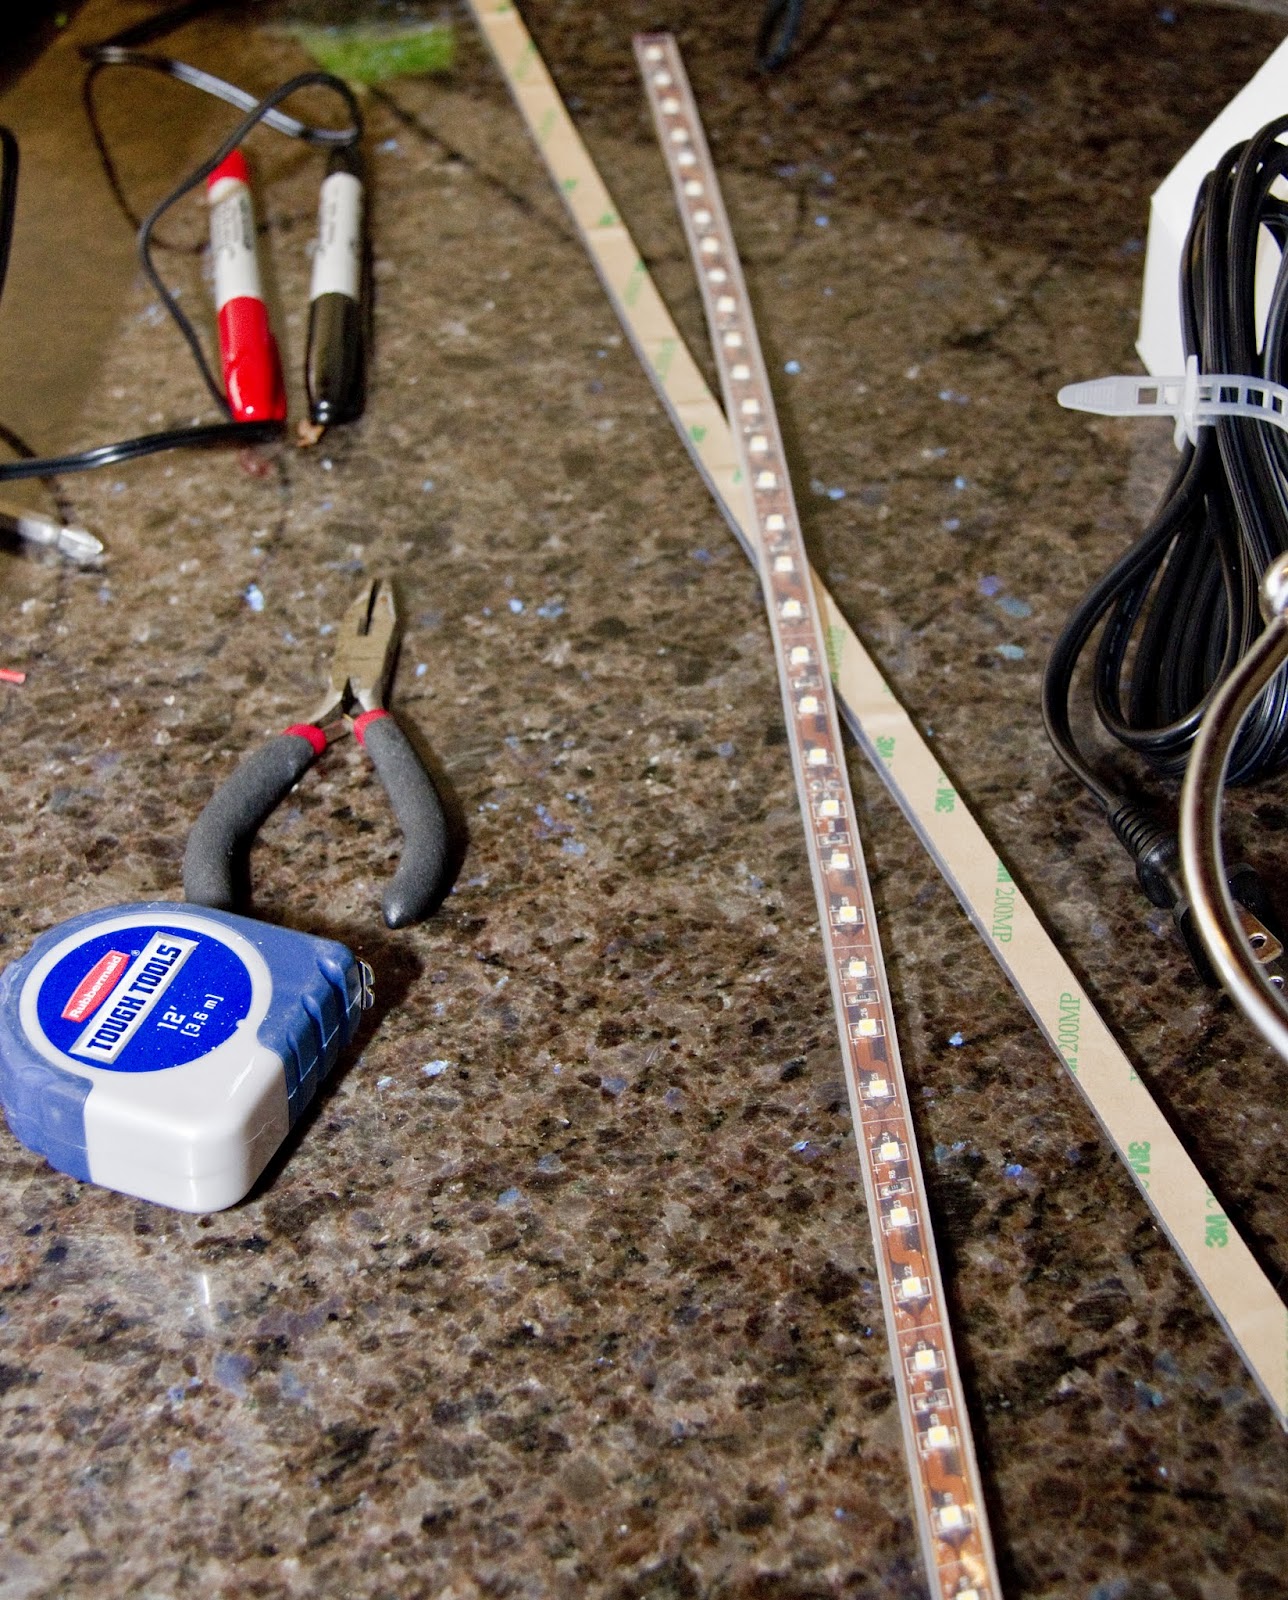
Once we had run through our plan several times, we measured our LED strips (several times) and cut them to the correct lengths. Each stretch of cabinet was going to have two rows for added brightness. We drilled holes in the cabinets where we would need to thread the wires which we chose to do in order to hide all the wires from view, even when the cabinet doors were open.

 |
| Inside a cabinet: this wire will be pulled tight and hidden from view |
Once all the wires were in place, we proceeded to link up the LED strips with a little soldering action. At each cut, there were two tiny dots where solder would adhere to. These were marked with positive and negative symbols to help us keep them straight.
 |
| Adding solder dots for faster application of wires |
Here is one end of an LED strip with the completed connection. We tried to make our solder connections as clean as possible so that the two currents would NOT MAKE CONTACT. Otherwise we could have some serious electrical issues (like electrocution or fire)! Test your work after making each connection to make sure the circuit is complete (our test was very sophisticated and involved us yelling "Stand back! Don't touch anything!!! Ready?? *plug in*").


Time to stick it! I gently peeled off the paper backing and made sure the sticky tape stayed stuck to the LED strip and not the paper.

Then we pressed the LED strip firmly to the wood (don't forget to CLEAN the wood surface first!)

This was probably our best connection of the bunch. No extra wire slack and nice clean connections. Of course it was the last one we did. I guess practice makes perfect!

And we're done! While it was a pretty involved DIY, it wasn't a complicated one. Lots of planning, measuring, and researching ensured that our f***ups were minimal. Let's see the final results again....oooo prettyyyyyyyyy.
- $28 Waterproof flexible LED strips (3100k spectrum for a little warmth. The higher the number, the cooler the light)
- $29 Wireless remote hub
- $14 30-watt Power supply
- $7 Electrical wire (we used 26 gauge)
- TOTAL: $78
NOT BAD for something that can cost $300 and up for a professional to install! I would not hesitate to do this again in another kitchen!


