
Part 2: Plumbing
Part 3: Material selection and Floor Tile
Part 4: Shower Tile Prep
Part 5: Shower Tile
Part 6: Walls and Caulk
Part 7: Bathtub Siding
Part 8: The Mirror
Part 9: Concrete Vanity
Here we are. It was October of 2013 when we started this bathroom remodel, and over a year later I am relieved to say it is now complete as of December, 2014. During this time Boyfiancé and I have both changed jobs, had new adventures, made new friends, acquired lots of new tools, and learned an INCREDIBLE amount of home improvement skills. Most importantly though, we've learned that the limited free time we have is FAR more valuable to us than trying to save a little money doing it all ourselves.
I'm not proud of how long it took us to complete this project, but I'll be damned if I'm not swelling with pride for both the results and our hard work.
So without further ado, I present to you our hallway bathroom.

I'm still amazed at how far we've come.

Part 6: Walls and Caulk
Part 7: Bathtub Siding
Part 8: The Mirror
Part 9: Concrete Vanity
Here we are. It was October of 2013 when we started this bathroom remodel, and over a year later I am relieved to say it is now complete as of December, 2014. During this time Boyfiancé and I have both changed jobs, had new adventures, made new friends, acquired lots of new tools, and learned an INCREDIBLE amount of home improvement skills. Most importantly though, we've learned that the limited free time we have is FAR more valuable to us than trying to save a little money doing it all ourselves.
I'm not proud of how long it took us to complete this project, but I'll be damned if I'm not swelling with pride for both the results and our hard work.
So without further ado, I present to you our hallway bathroom.
I'm still amazed at how far we've come.
 |
| ORIGINAL DESIGN |
 |
| BEFORE |


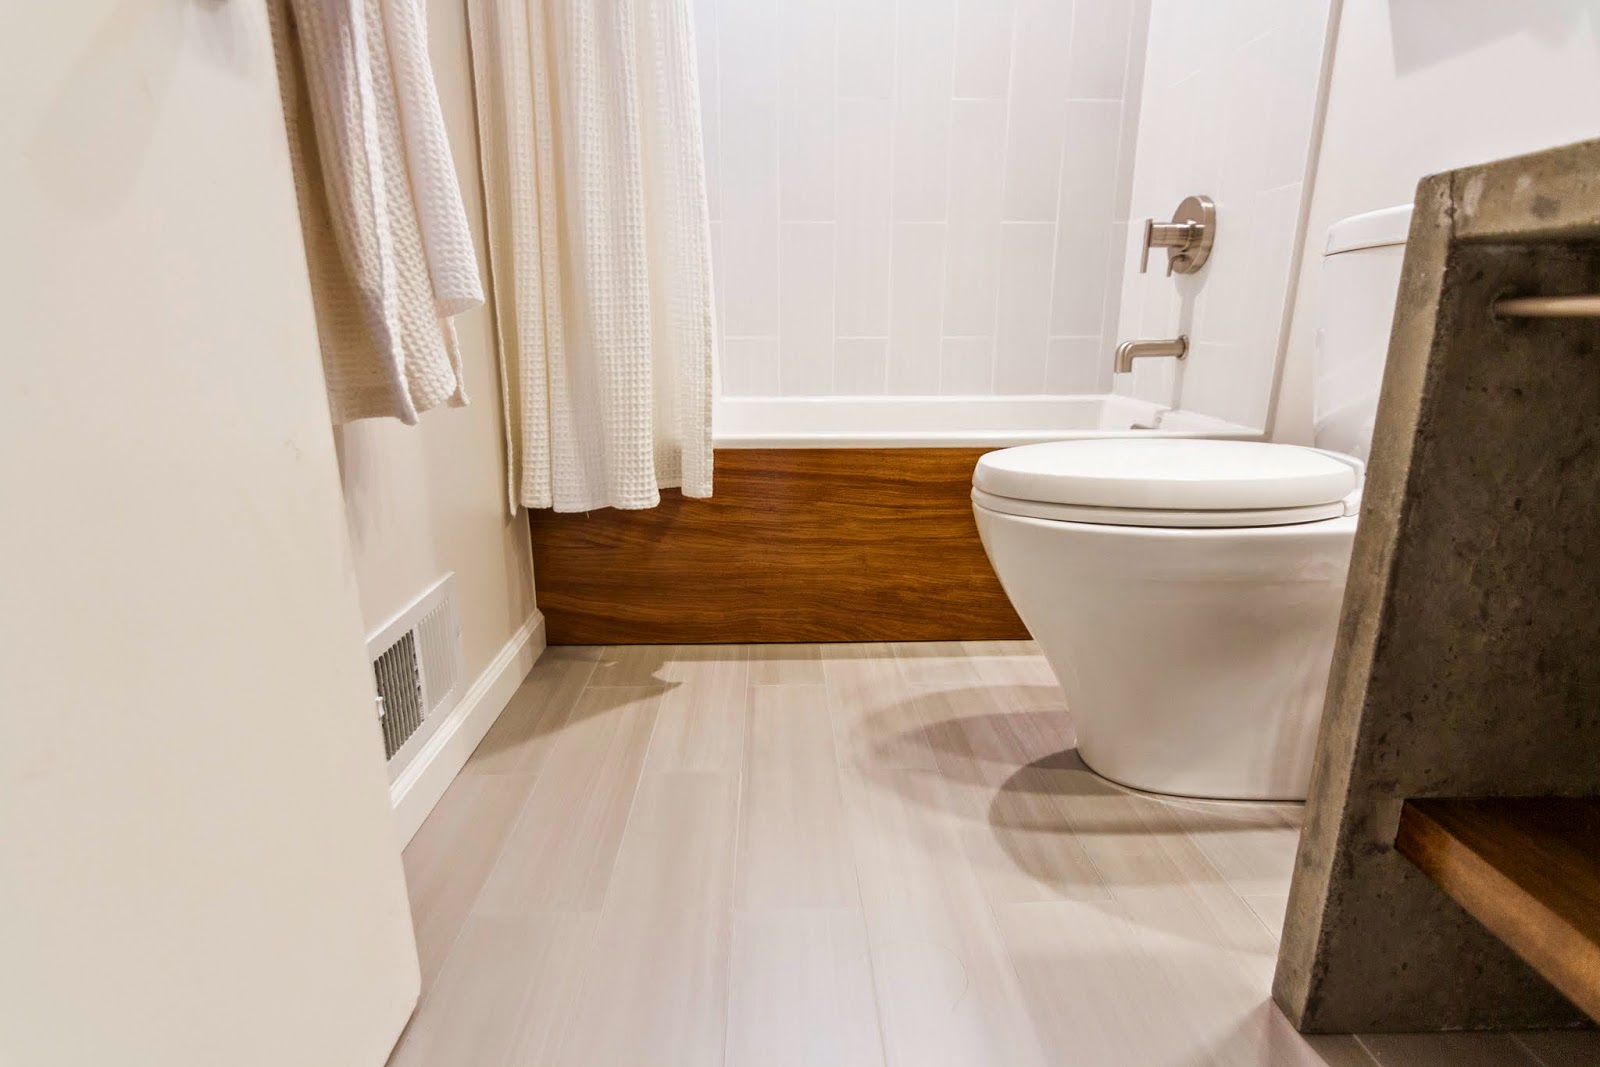


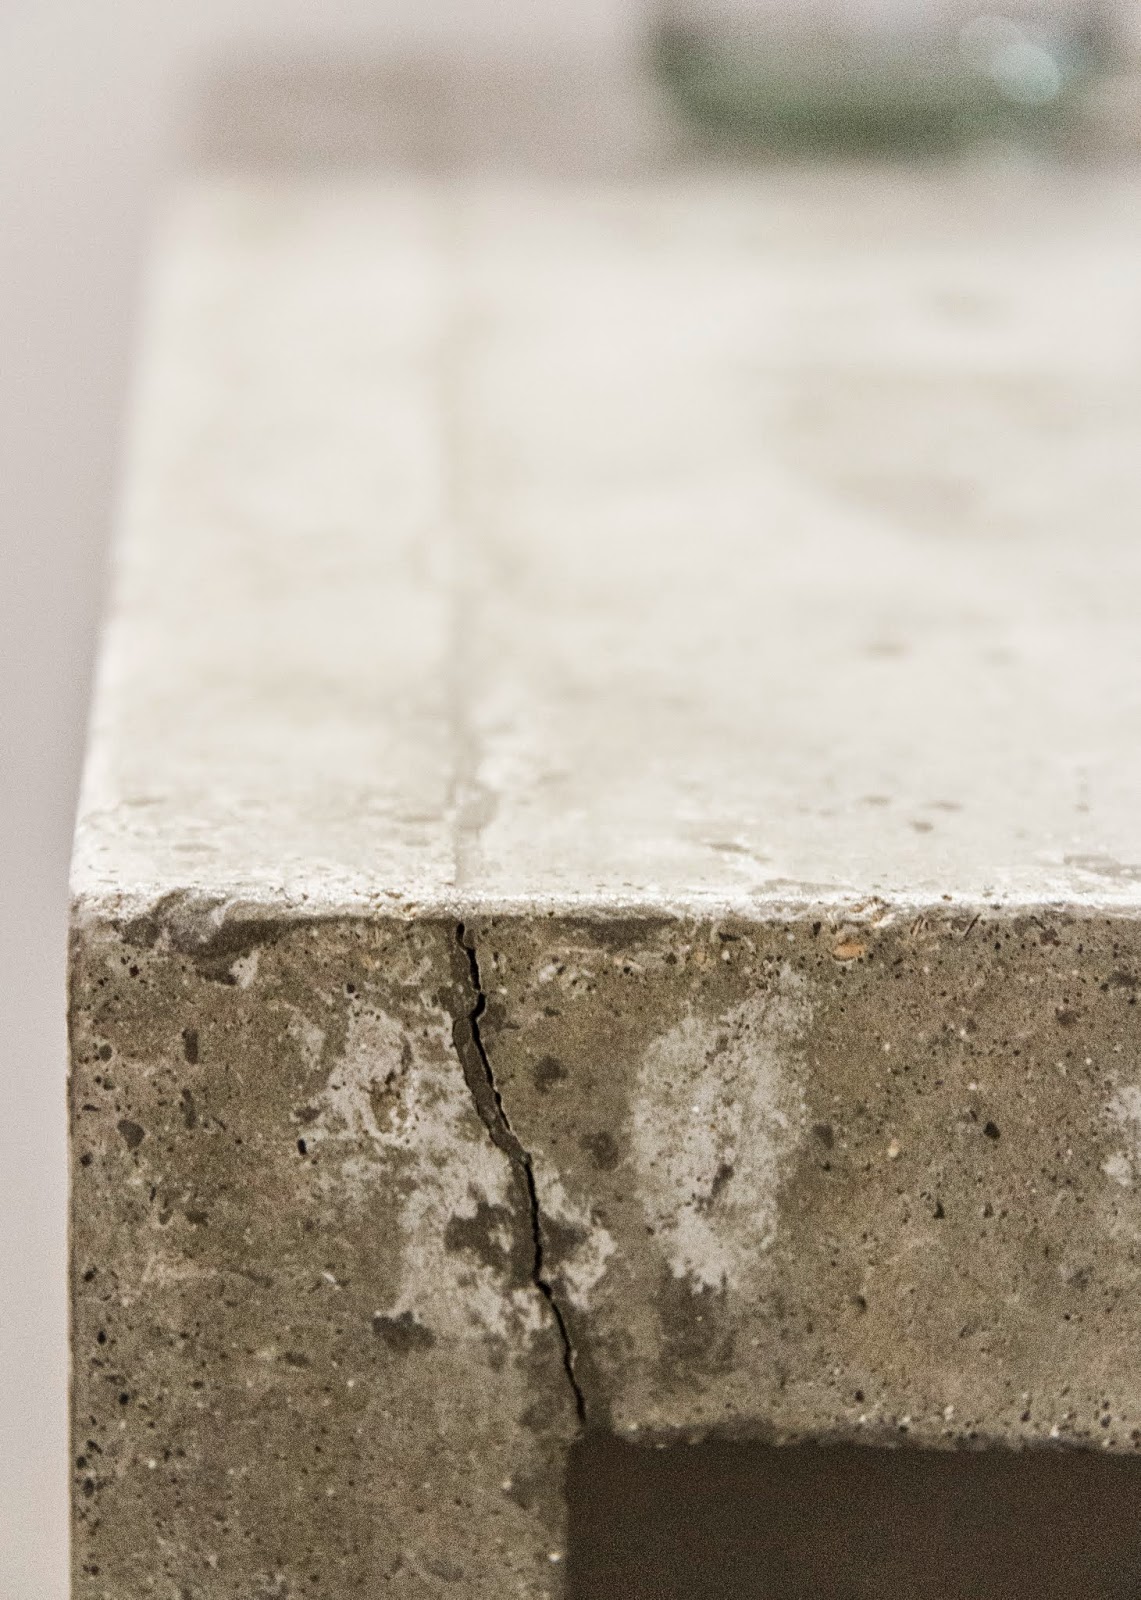
Some detail shots:


And of course the ever-present reminder to myself to be patient, not act rashly, and bring in the Boyfiancé for backup.
Usually I do a budget breakdown for my projects, and I even had budgeted it all out at the very beginning, but because of the long timeline and my lack of diligence in updating and tracking new purchases, I'm going to have to give this my best estimate.
My budget sheet says we spent about $5500 on materials and labor (labor being the electrical work at $1100). I probably left quite a few things out including minor purchases like gloves, lint free cloths, painters tape, etc etc, so I'm going to add +10% to that number. This brings us to $6050.
Now, this doesn't include all the new tools we bought for the project, some of which were pretty big ticket items (table saw and wet saw to start). I would estimate we spent about $1500 on tools, which we can continue to use for future projects.
A lot of bloggers have written about the subject of hiring vs DIYing, and after this project, I feel compelled to throw my two cents in as well. While the cost of a full-gut bathroom remodel was relatively low for us, we paid for it in other ways: loss of free time on evenings and weekends, having to decline friends' invitations for get-togethers, shame at not being able to offer our guests their own fully-functional bathroom, not being able to host events as often as we usually do, and not allowing ourselves to tackle any other house projects until this one was finished. I think the biggest eye-opener was when we hired out the electrical work, which took our electrician four hours to complete (it probably would've taken us two or three weekends in addition to having to learn how to do it in the first place). We realized that not only does a professional get the job done faster, but they also keep things moving along. When it was just the two of us, it was easy for Boyfiancé and I to say, "We're tired, no bathroom work this weekend", which caused things to drag on for so long. If we had hired out more of the work, especially the unpleasant tasks that we procrastinated on (hanging cement board anyone?), and reserved the more enjoyable tasks for ourselves, we wouldn't be finishing this thing on the doorstep of 2015.
Basically next time we take on a renovation project and ask ourselves "What will it cost?", the term "cost" will encompass not only money, but time, energy and impact on our relationships with each other and friends.
Thank you to everyone who followed along with us on this journey. And thank you especially to our friends and family who, at times, put up with no toilet, no sink, washing hands in the kitchen, using our ghetto master bath, and for being super understanding while we stumbled around figuring this all out. We promise to have a party for you where you can use the toilet and wash your hands all in the same room :)
Cheers!


