
Part 2: Plumbing
Part 3: Material selection and Floor Tile
Part 4: Shower Tile Prep
I've never actually looked forward to tiling (because, for the most part, it sucks), but this shower was an exception. Once we finished this tiling job, the world would be our oyster.
I did the tile layout in Sketchup and then transferred it to paper, where my OCD took over and I proceeded to plan out the cut list for every tile. Turns out it really paid off because even though I had ordered about 10% extra tile, it ended up not being enough with that many cuts! Luckily the store I got it from still had some extras, so we were covered.
TIP: Always buy at least 20% overage for any materials, and if your tile has a lot of cuts, make it 25%-30% to account for cuts-gone-wrong (chips, breaks). It may seem like a waste of money, but trust me when I say it is worth the peace of mind.

Figuring out how to cut this tile was tricky. It came in 60x60cm (approximately 24" x 24") squares, so each square could be cut into four 15x60cm tiles. Initially we didn't want to risk our limited number of tiles on the score-and-snap cutter because of how poorly it cut the floor tiles. Unfortunately when we turned to our wet saw to make the cuts, it caused an unacceptable amount of chipping on the finish.
We tried everything to reduce the chipping, including turning the tile upside down, taping the cut line, and replacing the blade. None of it worked and we were pretty discouraged for a few hours while we tried to decide if we could live with that many chippy edges in the shower or if we should just buy new tile.
Eventually I decided to give the ol' score-n-snap cutter a try. What did we have to lose right? Well, it turns out that for this particular tile, the score-n-snap was an almost perfect match. It gave us clean cuts 80% of the time with no chipping of the finish! It did occasionally take off a corner, but we saved those pieces for the shorter cuts. The cut edges were a bit sharp, so we used a stone block to smooth it out. It worked amazingly well compared to the wet saw.
TIP: When using a score-and-snap cutter, be sure to score ONCE, firmly and cleanly and from edge to edge. When pressing the tile to break it, set the press at the top of the tile and apply firm pressure.

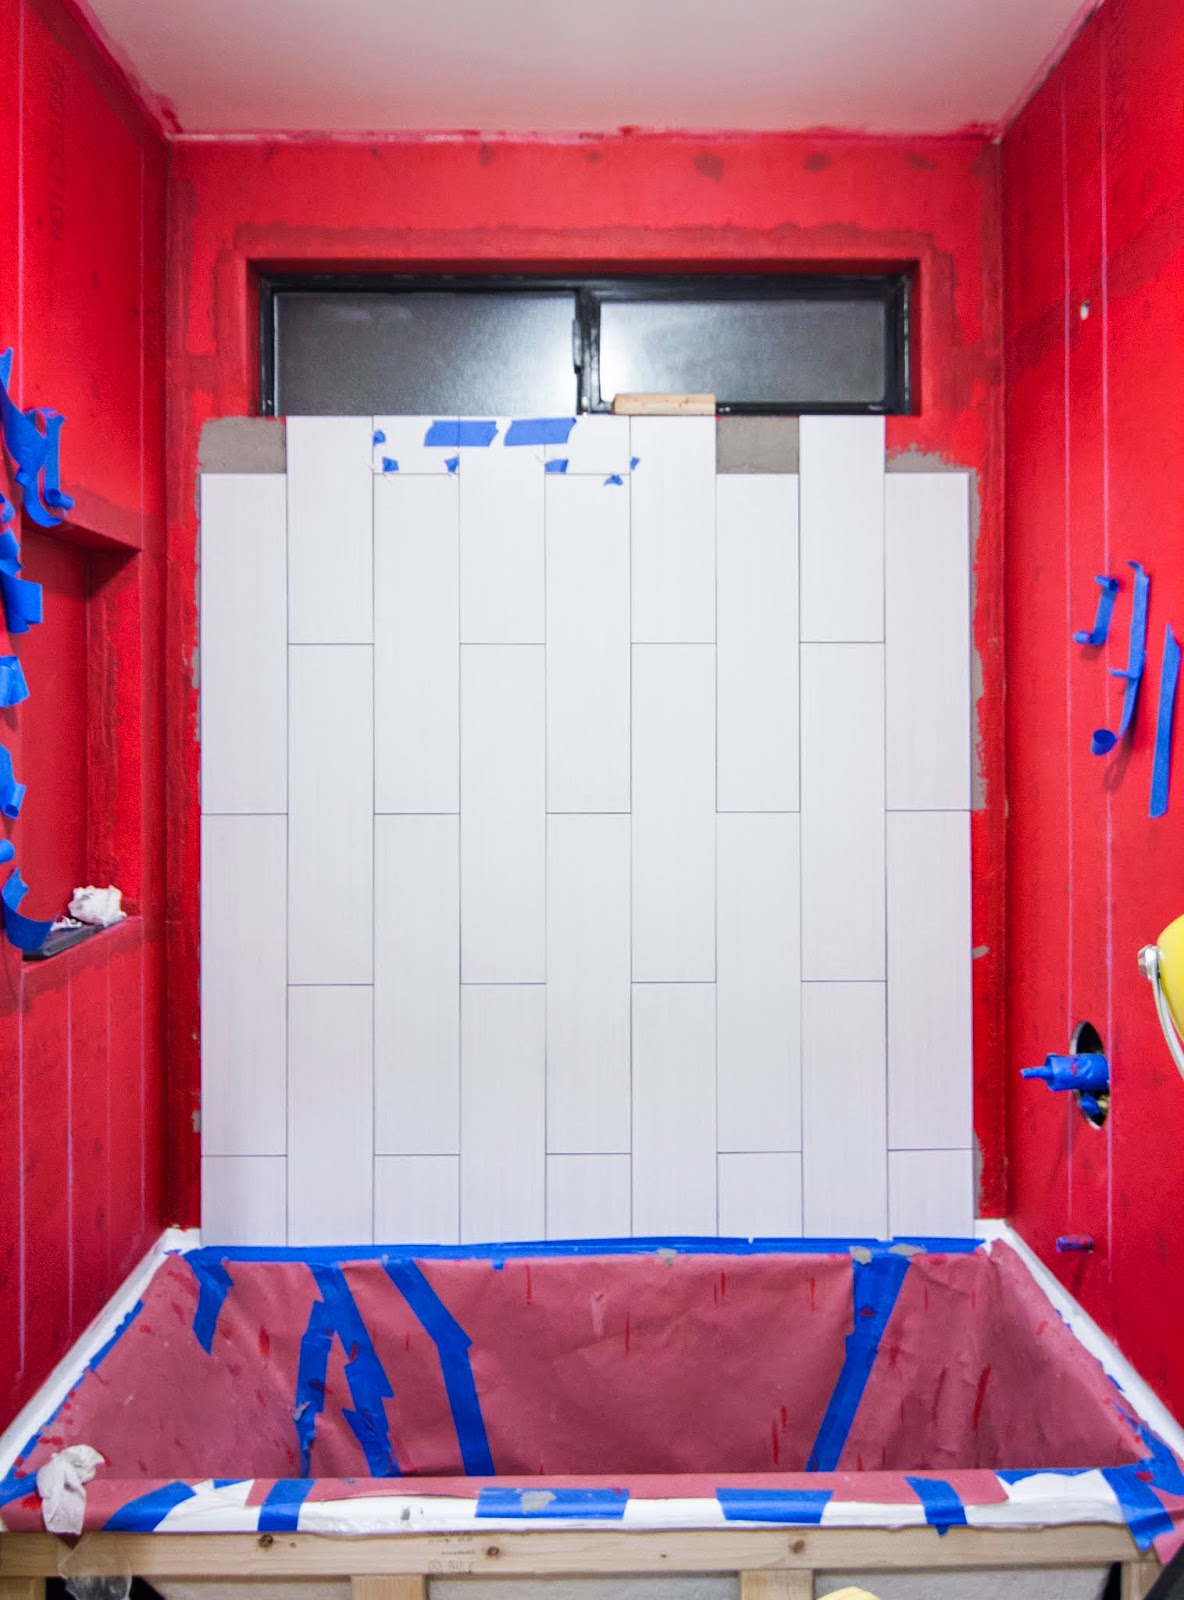
We measured from wall to wall to find the exact middle, and using that as our reference, marked our tile layout with a chalk line. Then, as you do with vertical tile applications, we started with the bottom row first working from the middle outward. There is supposed to be a small gap between the tub deck and the tile, so we used some little spacers taped to the tub for the tile to rest on.
TIP: Use a polymer-modified thinset over Redgard. Do not use mastic, which is great for vertical tile applications, but not in wet areas. Save it for the kitchen backsplash.
TIP: When laying tile, ALWAYS work from the middle outward. The worst thing is to start from the outsides only to find out that you didn't make enough room for the middle tile.

We got our first row in by the end of the day, then continued up the wall the next day.
TIP: Try to keep all the tile seams flush with each other. Inevitably you will have some situations where this is not possible, in which case consider your light direction (ours will be top lit) which will emphasize any tile-to-tile unevenness by casting shadows. In our case, we made sure that all horizontal seams were as flush as possible, and were more forgiving with our vertical seams.
We also encountered a problem that I did not think was possible. Some of our tiles were bowed! What. The. Heck. Apparently this can happen with large-scale tiles during the cooling process, and it really, really sucks. Unfortunately because we had already gone through two un-bowed boxes and because we had very limited extra, we had to deal with it. But that leads me to yet another...
TIP: When using large-scale tile, check to make sure the tiles are flat. Sad, but true.
For the section above the window, I whipped up this shelf for the tiles to sit on so they wouldn't slide down the wall while drying.

Of course, I don't have the "in-progress" or "after" photos of this. Actually the theme of this post is quickly becoming "Stephanie takes teaser 'before' photo, fails to satisfy readers with any followup whatsoever." So yeah...sorry :/
The side walls had some complicated stuff going on. For the plumbing wall, we had to drill holes where the shower and tub spouts would be. Our first attempt at this involved drilling multiple holes with a 1/2" masonry bit, and when Boyfiancé got impatient and pressed too hard, the tile cracked in half. Again, with our limited number of tiles to work with, we figured it was worth it to find the right tool for the job rather than use some ghetto method like we usually do. I ordered a diamond coated drill bit in the size we needed for super cheap on Amazon. This time Boyfiance used more speed and almost no pressure, and let the bit do all the work. We got a great tip on the internet to build a little "pool" out of plumber's putty (yes, we happen to have that lying around) to keep the drill bit from overheating. It was brilliant. Of course I don't have an "after" photo of this either. Bad blogger!

On the niche side, we have this concrete insert that I cast several months back, just waiting to be polished. If you don't remember, this was what I designed.

I used MDF and plywood to make the form with a mixture of concrete and white portland cement to lighten the color.
TIP: Use plenty of reinforcement. Here, I used metal L brackets inside the corners to avoid what happened to my vanity (you'll see in a future post), as well as wire mesh for the remaining areas.


Boyfiancé got this Dremel Multi-Max oscillating tool for Christmas, and this was going to be its debut. I bought a special diamond sanding pad especially for concrete. (Also, I friggin love this tool. It has come in handy more times than I can count and I'm amazed we didn't own it sooner.)

First I smoothed out all the ridges and imperfections.

Then I used a special slurry used for filling the tiny air pockets that form during the curing process. This notch is for the future teak shelf.

The niche opening ended up being a wee bit snug due to the layers of tape, mortar and Redgard (I swear the concrete fit perfectly before we added all that mess). After slow progress trying to sand it down with the Dremel tool, we decided use the wet saw to cut away at the sides (you can see the notched-out cut below). Worked like a dream. (Addendum: Boyfiancé pointed out that I have not adequately described how much of a pain-in-the-ass this concrete niche was, mostly because I made him carry it up and down the stairs about 20 times to dry-fit between sandings. And it was heavy. You have been informed.) Added some mortar and shoved it into place.

Hands down my absolute FAVORITE part of the shower!


Perhaps the ONLY good part about cutting large tile into smaller tile is that we could opt for one large piece for the back of the niche.
TIP: Whenever possible, do not plan to cut larger tiles into smaller ones for the sake of the design. Just buy them a the right size in the first place even if you have to buy a different tile. Do not be tempted by sales...as we were.


The green tape on the right is covering up a nice little discovery of ours, which is a piece of Schluter tile edge finishing in white called "Jolly".

Most hardware stores only sold it in metallic or brass finish, so we had to go to a specialty tile store to find it, but so worth it. It looks super swank.
The window was a little tricky. Here we used the Schluter trim again, measuring twice (and even three or four times) before cutting the mitered edges. There was a funny/sad moment where we were standing in the garage staring at each other trying to figure out how to cut this stuff. Being completely spoiled by power tools, it took us WAY too long to figure out that we could just use a old-fashioned miter box, hack saw and some muscle. What is happening to our generation?
TIP: Tape the trim where the cut will be to avoid shredding or scratching the metal.
I wish we had pictures of how to install the trim, but essentially you lay down your mortar, embed the trim, spread a thin layer of mortar over that, then set your tile. It looks intimidating but it's actually super easy. Youtube has videos.

For the down-facing tile, we braced them with some 2x4s.
TIP: Don't make your mortar too watery for this part, or you'll need at least four hands to keep the tile from crashing to the ground while you scramble to do your spacers and braces.

Amidst the tiling process, we had an electrician come in to do some work, including installing that can light above the shower (DME LED brand, 3000k color...Boyfiancé is SUPER picky about his light color), moving an outlet, installing a new vent fan, and hooking all of it up to a pretty light switch panel. He did some other things around the house, such as installing a couple of sconces around the garage, some outdoor outlets, etc etc. All in all it took him about 8 hours and $1100, and it was SO WORTH IT. I have learned many lessons during this bathroom renovation, one of which is the merit of hiring vs DIYing, but I'll save that for the post-mortem. Oh yes.
 |
| I got bored on the plane and started drawing things. |
Aaaaaand here it is all tiled and ready for grout! The photo below was taken August 24th 2014. We started this project in October 2013. We are the worst.

Click here for Part 6
No comments:
Post a Comment