
Part 2: Plumbing
We're still putzing along with our little bathroom renovation, moving at the speed of almost-frozen molasses. For this post, I'm going to take you back in time (November) to where we installed the tile flooring, which has surprisingly been the easiest part of this whole adventure thus far (but certainly not without it's own set of issues).
At this point I had been in the interior design field long enough to know that I should have ALL my finishes and paint colors selected before starting on anything. I went to a local tile showroom and grabbed way too many samples (tile samples are heavy, ya'll!).
I had also designed a cast concrete vanity and shower niche, so I made some concrete samples with increasing amounts of white portland cement to figure out the color we wanted.
 |
| Ratios of concrete to portland cement from left to right: 1:0, 3:1, 1:1, 1:3 |

Basically what you want to do when you've got all these samples is lay them all out along with your other bathroom elements. You can see we've got a sink, a brushed nickel pipe, concrete, and a brown wood tile as our teak-wood stand-in. It may be overwhelming to see it all at once, but here's the trick: rather than trying to decide what you like best, start by eliminating the things that aren't working for you. Hopefully this gets you to a manageable place where you can start making decisions. Of course even with this method, we still debated the choices off-and-on for an hour or more.
I don't know if you've seen some of that faux wood tile recently, but they are getting GOOD. I had my heart set on this beautiful ash white specimen for much of the debate. I finally had to admit that wood floor tile would simply detract from the beauty of the natural teak-wood siding we were planning for.

The photo below shows the final choices. This photo does not do the large white tile justice. It has beautiful subtle shimmery streaks with just the right touch of grey. Plus it was on clearance for $4-something a square foot! The tricky part is that it only comes in 24x24", so there will be lots of tile cutting in our future. Hopefully no big deal right?

I made you a material call-out image :)

Fast forward to the tile being ordered and arriving! We made a weak attempt at scraping up the faux-wood laminate in the bathroom before giving up and Googling "tiling over laminate". Turns out there is a lot of controversy over this subject but the majority of information we read said that it was okay to do as long as proper underlayment procedure was followed. Basically you want to create a really solid base for your tile to minimize movement, which leads to cracking.
To start, we cut our Wonderboard to size, mixed up some mortar, and put down a hefty helping directly on the laminate.

Like icing a cake.

We placed the boards down and secured them to the subfloor using special screws just for Wonderboard. Then we went over the seams with mesh tape and more mortar.

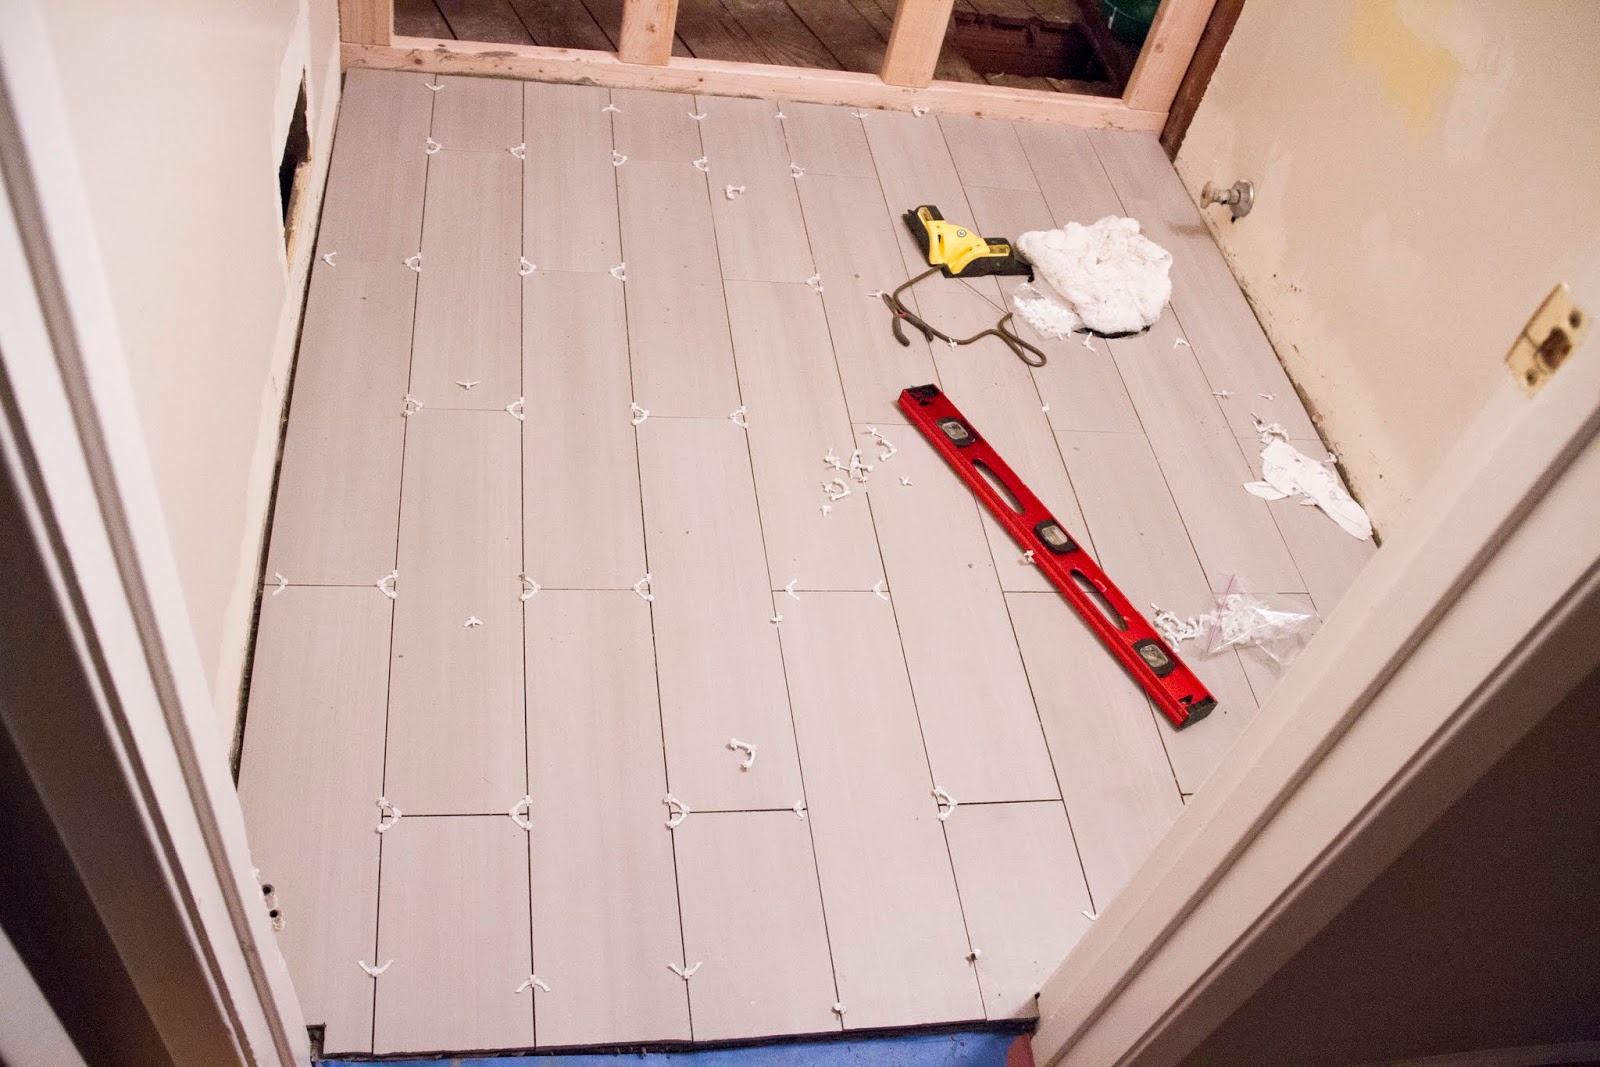
Once that dried for a couple of days, we started laying out our tile to determine our cuts. I learned from my fireplace makeover that you should do all of your tile cuts BEFORE you start gluing things down. Trust me. It's better this way. Seriously.

Boyfiancé was feeling pretty good about our progress so he did the "Manziel".

When laying tile, it's always advised to find the center and work outwards from there. The reason for this is because walls are almost never perfectly square, so if you use a wall as your guide on one side, you could end up with a funky line on the other. The other reason is below. We used a combination of laser levels and chalk lines to figure out our starting point.

Working from the middle outward should happen throughout the whole project. At one point we forgot this rule and our last tile ended up being a bit of a tight fit in the last row.

We also cleaned the excess mortar as we went so the stuff at the beginning wouldn't be a bitch to clean toward the end.
If you're wondering how Boyfiancé did the circular cut around the toilet hole, here's a picture. Basically you mark your circle, then tilt your tile about 30 degrees or so and chop out little slivers. It's not pretty, but the toilet will be covering it sooooo yay.

After letting the mortar cure for a couple of days, we grouted. They say grout fixes all sins, but in this case it created a whole bunch of really annoying sins, which we have yet to deal with. Apparently un-sanded grout (which we had to use for our 1/16" grout lines) is notorious for drying splotchy, which is exactly what happened to us THREE TIMES.
Here's what we did:
1) Finish tiling, let mortar cure for a few days, then grout. Grout dries splotchy
2) I think I might not have followed the mixing instructions closely enough, so I spend hours carving out the grout with a little grout knife. The worst.
3) Boyfiancé and his dad do the 2nd grout application and follow the instructions to. the. letter. Grout dries splotchy.
4) Boyfiancé and his dad think there might have been too much leftover grout from the 1st application, and spend even more hours carving out every spec of dried grout. Worst ever.
5) Again, following the instructions precisely, they grout for the third time. Grout dries splotchy.
I think I speak for all three of us when I say WHAT THE FRICK.
Custom Building Products customer service was not much help. Their response was basically, "It's common, and it's called efflorescence. Wash it with some acid." Um, how about you make a product that doesn't need acid wash in the first place?
RAGE.
Whatever. On my next trip to the hardware store, I bought some grout paint instead of acid wash, and you BETTER BELIEVE I returned that almost-empty box of splotchy grout. No shame.
 |
| Freshly washed tiles. Efflorescence happened once it dried. |
Long story short, the future in-laws showed up to a bathroom with no shower walls, no sink and no toilet (but with a fully functional tub!). I always strive to be a good hostess, so this made me feel extra bad...especially the no-toilet part. Poor parents had to use our en-suite master bathroom in the middle of the night.
Not surprisingly after a few days of this, Boyfiancé and his dad took it upon themselves to install the new toilet.

They kindly swapped out the old water shutoff valve as well (nasty).

Boyfiancé complained a lot that this toilet was difficult to install because of the smooth sides, but don't they look pretty? :)
 |
| What it looks like with a toilet seat. |

Actually you can see the efflorescence on the grout in the above photo. See how it's all splotchy? Not really a quality one generally strives for in grout.
We moved on to the cement board after the holidays which has been the most drawn-out and emotionally taxing part of this whole project so far. But the good news is that we FINALLY put the last Hardibacker screw in yesterday and are feeling energized once again!
Part 4
Phew! What a process with that grout! But seriously, it's a gorgeous design and I know it will be fabulous. Hardibacker is tough to screw in, and just by the last shot I can see you both were thorough and generous with screws. Excited to see what comes next! Any news about the East Coast Creative challenge yet? =D
ReplyDeleteThe Hardibacker you see in the photo ended up having to be redone because we forgot to shim behind it, which was totally heartbreaking considering how long it took us to screw it in in the first place. Details in the next blog post!
ReplyDeleteDid not make it into Creating with the Stars, and the last round is this week actually! Kinda relieved because the caliber of projects the contestants have made this year would have been really hard to compete with, especially with how much overtime I've had to work lately.
Hope you've been well! Boyfiance talks about Hawaii constantly since we've been back. We can't wait to visit again :)
Really great job you have done dear keep it up.
ReplyDeleteThis comment has been removed by a blog administrator.
ReplyDeleteThis comment has been removed by a blog administrator.
ReplyDeleteThis comment has been removed by a blog administrator.
ReplyDelete